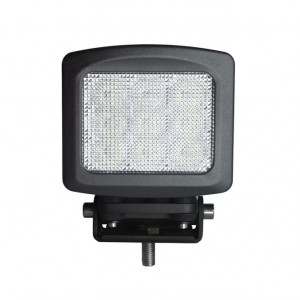
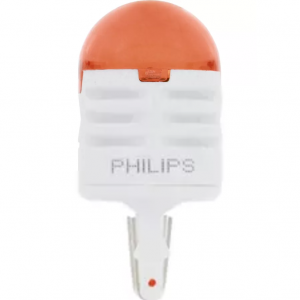
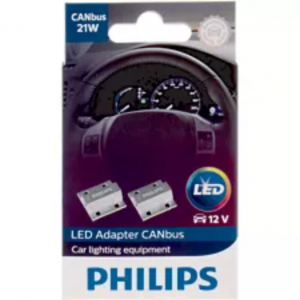
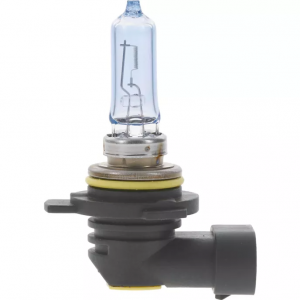
Upgrading or replacing your car lights not only enhances the appearance of your vehicle but also improves your night driving experience. Whether you’re looking to install LEDs, HIDs, or simply replace your old halogen bulbs, doing it yourself can save you money and give you a rewarding sense of accomplishment. This step-by-step DIY guide will walk you through the process, ensuring you get professional results at home.
Tools and Materials Needed
- Screwdrivers (Phillips and flathead)
- Wire strippers and crimpers
- Electrical tape or heat shrink tubing
- New car lights (LEDs, HIDs, or halogens)
- Vehicle’s repair manual
- Work gloves and safety glasses
Preparing for Installation
Before you begin, make sure your vehicle is parked on a flat surface and that you have ample light to see your work area. Disconnect the battery to prevent any electrical shorts or shocks. This is a critical safety step, especially when working with your vehicle’s electrical system.
Step 1: Remove the Old Lighting
Consult your vehicle’s repair manual for instructions on how to access and remove the old lights. This typically involves removing the front bumper or the interior trim and unscrewing the housing. Be gentle to avoid any damage to the wiring or surrounding areas.
Step 2: Install the New Lights
Once the old lights are out, compare them with your new lights to ensure compatibility. Mount the new lights in the same position as the old ones, using the screws and mounts provided. For LED and HID installations, make sure the ballast or driver is securely mounted as well.
Step 3: Connect the Wiring
If your new lights come with a plug compatible with your vehicle’s wiring, simply connect it. If not, you might need to use wire strippers and crimpers to connect the wires. Always ensure your connections are tight and sealed with electrical tape or heat shrink tubing to prevent corrosion or electrical failures.
Step 4: Testing Your New Lights
Before reassembling everything, reconnect the battery and test your new lights to ensure they work correctly. Check all functions, including turning signals, brights, and if applicable, the automatic on/off feature. This step is crucial to avoid having to disassemble everything again in case of issues.
Conclusion: Lighting Up Your Ride
Installing your own car lights can be a straightforward and satisfying project if done carefully and methodically. Not only does it enhance the safety and functionality of your vehicle, but it also adds a personal touch to your ride. With this guide, you’re ready to tackle the installation with confidence and light up the road in style.


